Drywall taping and mudding in Menomonee Falls
Hanging is labor. Taping is skill. We will take the taping.
Get a free estimate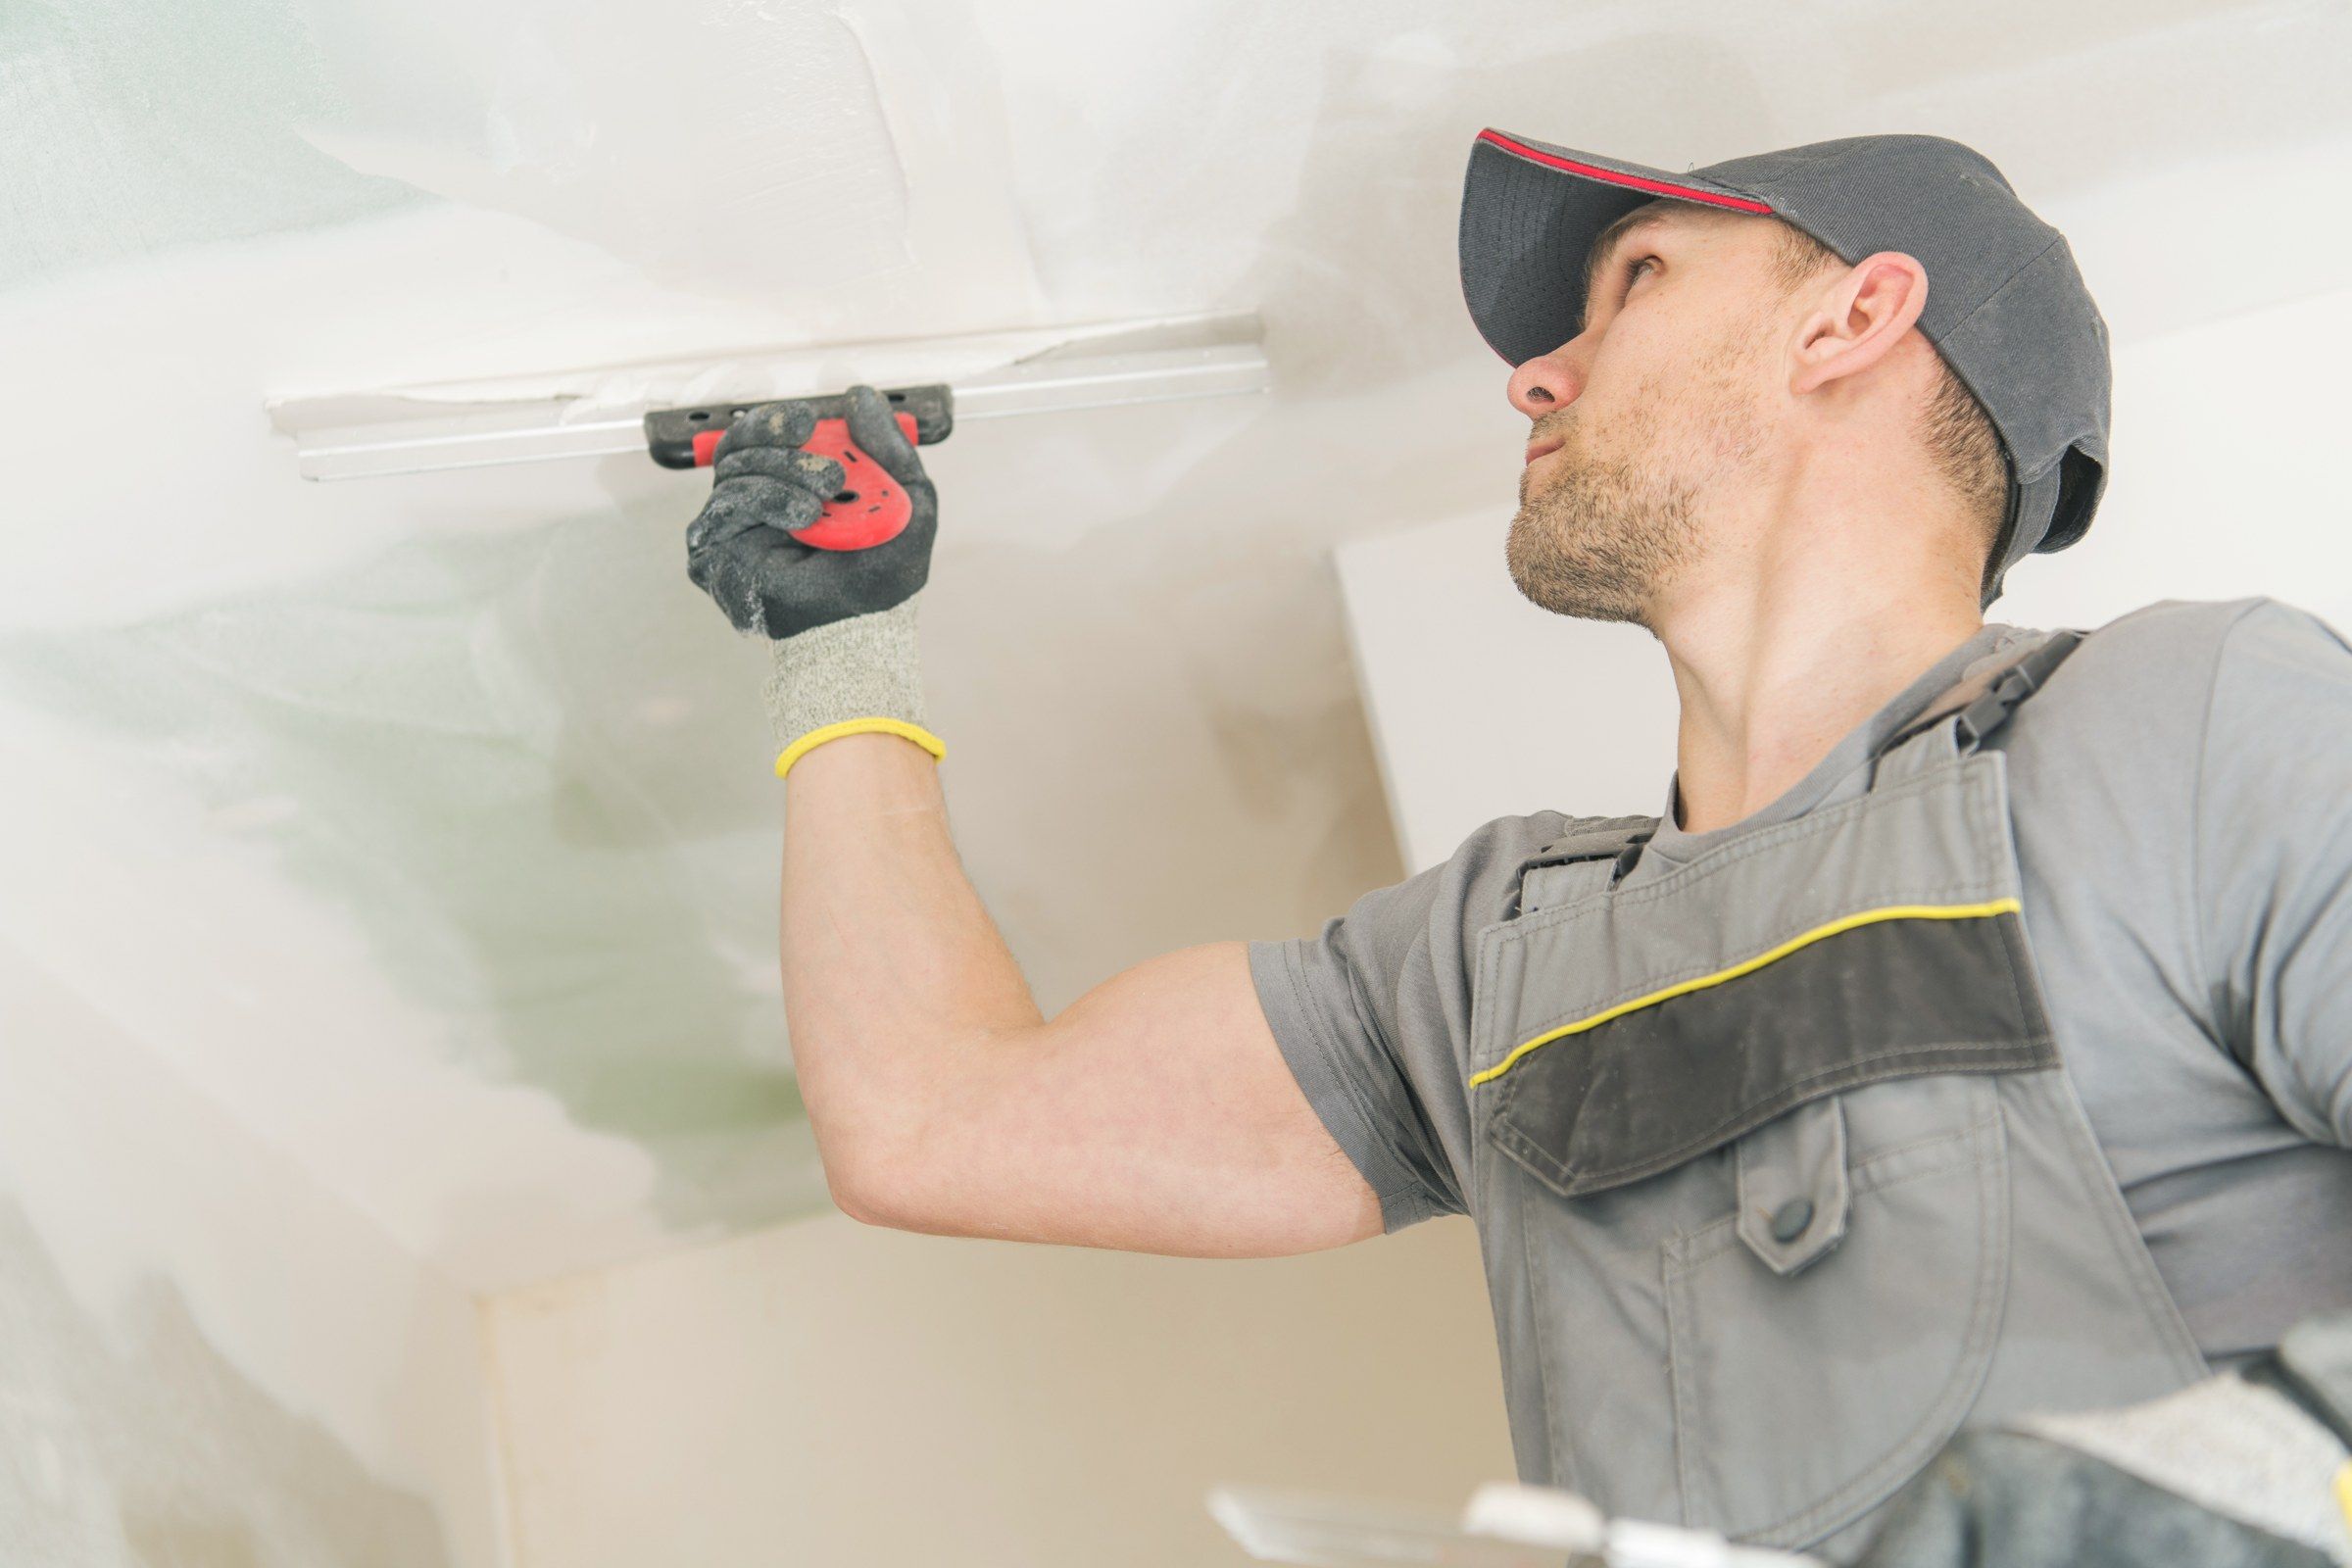
The short of it
Plenty of people hang their own drywall. Fair enough. It is heavy, but it is not mysterious. Then they try taping and discover it is a different trade.
If your board is up and you would like it finished by someone who does this for a living, that is a normal job for us.
What we do
Check the hanging. Set any proud screws. Fill wide gaps. Install corner bead. Tape every joint and inside corner with paper tape.
Then a second coat. Then a third, wider and thinner. Then sand. The result is a wall with no visible seams, ready for primer.
Who calls
DIY homeowners
Board up, done with it.
Remodelers
Who sub the finishing.
Stalled projects
Bare seams for years.
Failed tape jobs
Blisters and ridges redone.
Coats
Prep
Screws, gaps, bead.
Tape
Bedded in compound.
Fill
Second coat.
Finish
Third coat, feathered.
Sand
Under a light.
If you are hanging it yourself
Three things make our job quicker and your bill smaller. Set screws just below the surface without breaking the paper. Keep gaps under a quarter inch. Put tapered edges together, not cut ends.
Do not use mesh tape and premixed mud together on seams. That combination cracks. Leave the taping to us.
Why hire it
It will look right
No seams through the paint.
It will be quick
Days, not a month of weekends.
It will be cleaner
Less sanding, less dust.
It will hold
Paper tape, properly bedded.
What the estimate lists
Board area
Total square footage to be taped, walls and ceilings separately.
Condition of the hang
Whether the board is ready or needs prep: loose sheets, proud screws, gaps, damaged edges. Prep is listed as its own line.
Corners
Inside corners taped. Outside corners beaded. Counted.
Finish level
Level 3, 4 or 5, by area.
Height
Standard, or scaffold work.
Conditions
Heat and power to be provided. In winter, in an unheated space, temporary heat is listed.
If you hung the board yourself, send photos of a few joints, a corner and a ceiling seam. That is enough for us to tell you what prep it needs.
How the days run
Day one: prep and tape
Board checked sheet by sheet. Screws set. Gaps pre-filled. Then paper tape bedded on every joint and inside corner. Bead installed on outside corners.
Day two: fill coat
A wider coat over all taped joints. Second coat on fasteners and bead.
Day three: finish coat
The widest, thinnest coat. Butt joints feathered out furthest.
Day four: sand
Sanded with fine paper. Checked with a light. Pinholes and scratches touched up.
Day five, if Level 5
Skim coat over the whole surface, then a final light sand.
Those are working days. In cold or damp conditions there may be a drying day between some of them.
What we need from you
Board that is hung and fastened. If you or another crew hung it, we look it over first. Loose sheets, screws standing proud and wide gaps are corrected before any tape goes on. That prep is quick and it is listed separately.
Heat. Steady, at room temperature, starting the day before we arrive. This matters more for taping than for any other stage. Cold compound bonds poorly and takes days to dry.
Power, light and water on site. Compound is mixed with water and tools are cleaned at the end of each day.
The rooms left alone between coats. No leaning sheets of plywood against a wall, no other trades sanding or cutting in the same space, no heaters aimed at one spot.
What can change the plan
The hang. Good board tapes fast. Poor board needs fixing first. Butt joints in the middle of long walls, gaps at the ceiling line and broken corners all add coats.
Humidity. A damp week or an unventilated basement can put a drying day between every coat. Dehumidifiers and fans bring it back.
A change in finish level. Deciding on Level 5 after seeing the Level 4 walls is fine. It adds a skim and a sanding pass.
Other trades. If an electrician cuts a new box into a taped wall, that spot needs to be redone. Best to have every trade finished before taping begins.
Mistakes we see in taping
Mesh under premixed compound
The joint cracks. Mesh needs setting compound. Paper works with either.
Not enough compound under the tape
Blisters appear weeks later.
Two heavy coats in place of three thin ones
Heavy coats shrink, crack and take longer to dry.
Sanding through to the paper
Raised fibers show under paint.
Recoating too soon
Traps moisture. The joint fails later.
After we leave
Prime with a drywall primer. It seals paper and compound to the same porosity so the paint looks even. Without it the joints show as bands.
Inspect after priming, in daylight and under the room's own lights. Circle anything in pencil. A touch-up at that point takes minutes. Then two coats of finish paint.
Notes from the job
There are two families of compound. Premixed compound comes in a bucket and hardens by drying. Setting compound comes as a powder and hardens by chemical reaction in a set time, whatever the humidity. Setting compound is stronger and shrinks less. Premixed is easier to sand. A good job uses both: setting compound for pre-fill and often for the tape coat, lightweight premixed for the last coat.
Butt joints are where taping is judged. Two cut ends meeting have no recess for the tape, so the tape and compound sit above the surface of the board. The only way to hide that is width. A butt joint on a wall is feathered to two feet or more. On a ceiling under daylight, more than that.
Inside corners are done one side at a time. Coat one side, let it dry, coat the other. Trying to finish both sides wet in one pass drags the knife through the fresh compound and leaves a rough corner.
Outside corners depend on the bead. Metal bead is fastened with nails or screws and is very straight. Paper-faced bead is bedded in compound and resists cracking along its edge. Vinyl bead suits arches and damp areas. We choose by location.
Screw heads take three coats, the same as joints. One coat looks filled when it is wet and shows as a dimple when it dries. Each coat is a little wider than the one before.
Sanding is the smallest part of the job if the coats went on well. The aim is to knock down tool marks and blend edges. If someone is sanding hard for hours, the compound was put on too heavy.
Dust control is part of the trade now. Vacuum sanders, sealed rooms and covered returns keep the dust where the work is. Ask any taper you hire how they handle it.
Automatic tools speed up large jobs. Small jobs and repairs are still done by hand. Either way the result is checked the same way, with a light held along the wall.
Taping is the stage where the schedule tempts people to cut corners. Two coats in one day. A heater aimed at the wall. Sanding before the compound has cured. Each one saves hours and shows up later as a crack, a ridge or a blister under the paint.
If your project has a hard deadline, tell us at the start. We can plan the order of rooms and use setting compounds where they help. What we will not do is recoat over compound that is still wet.
Before and after
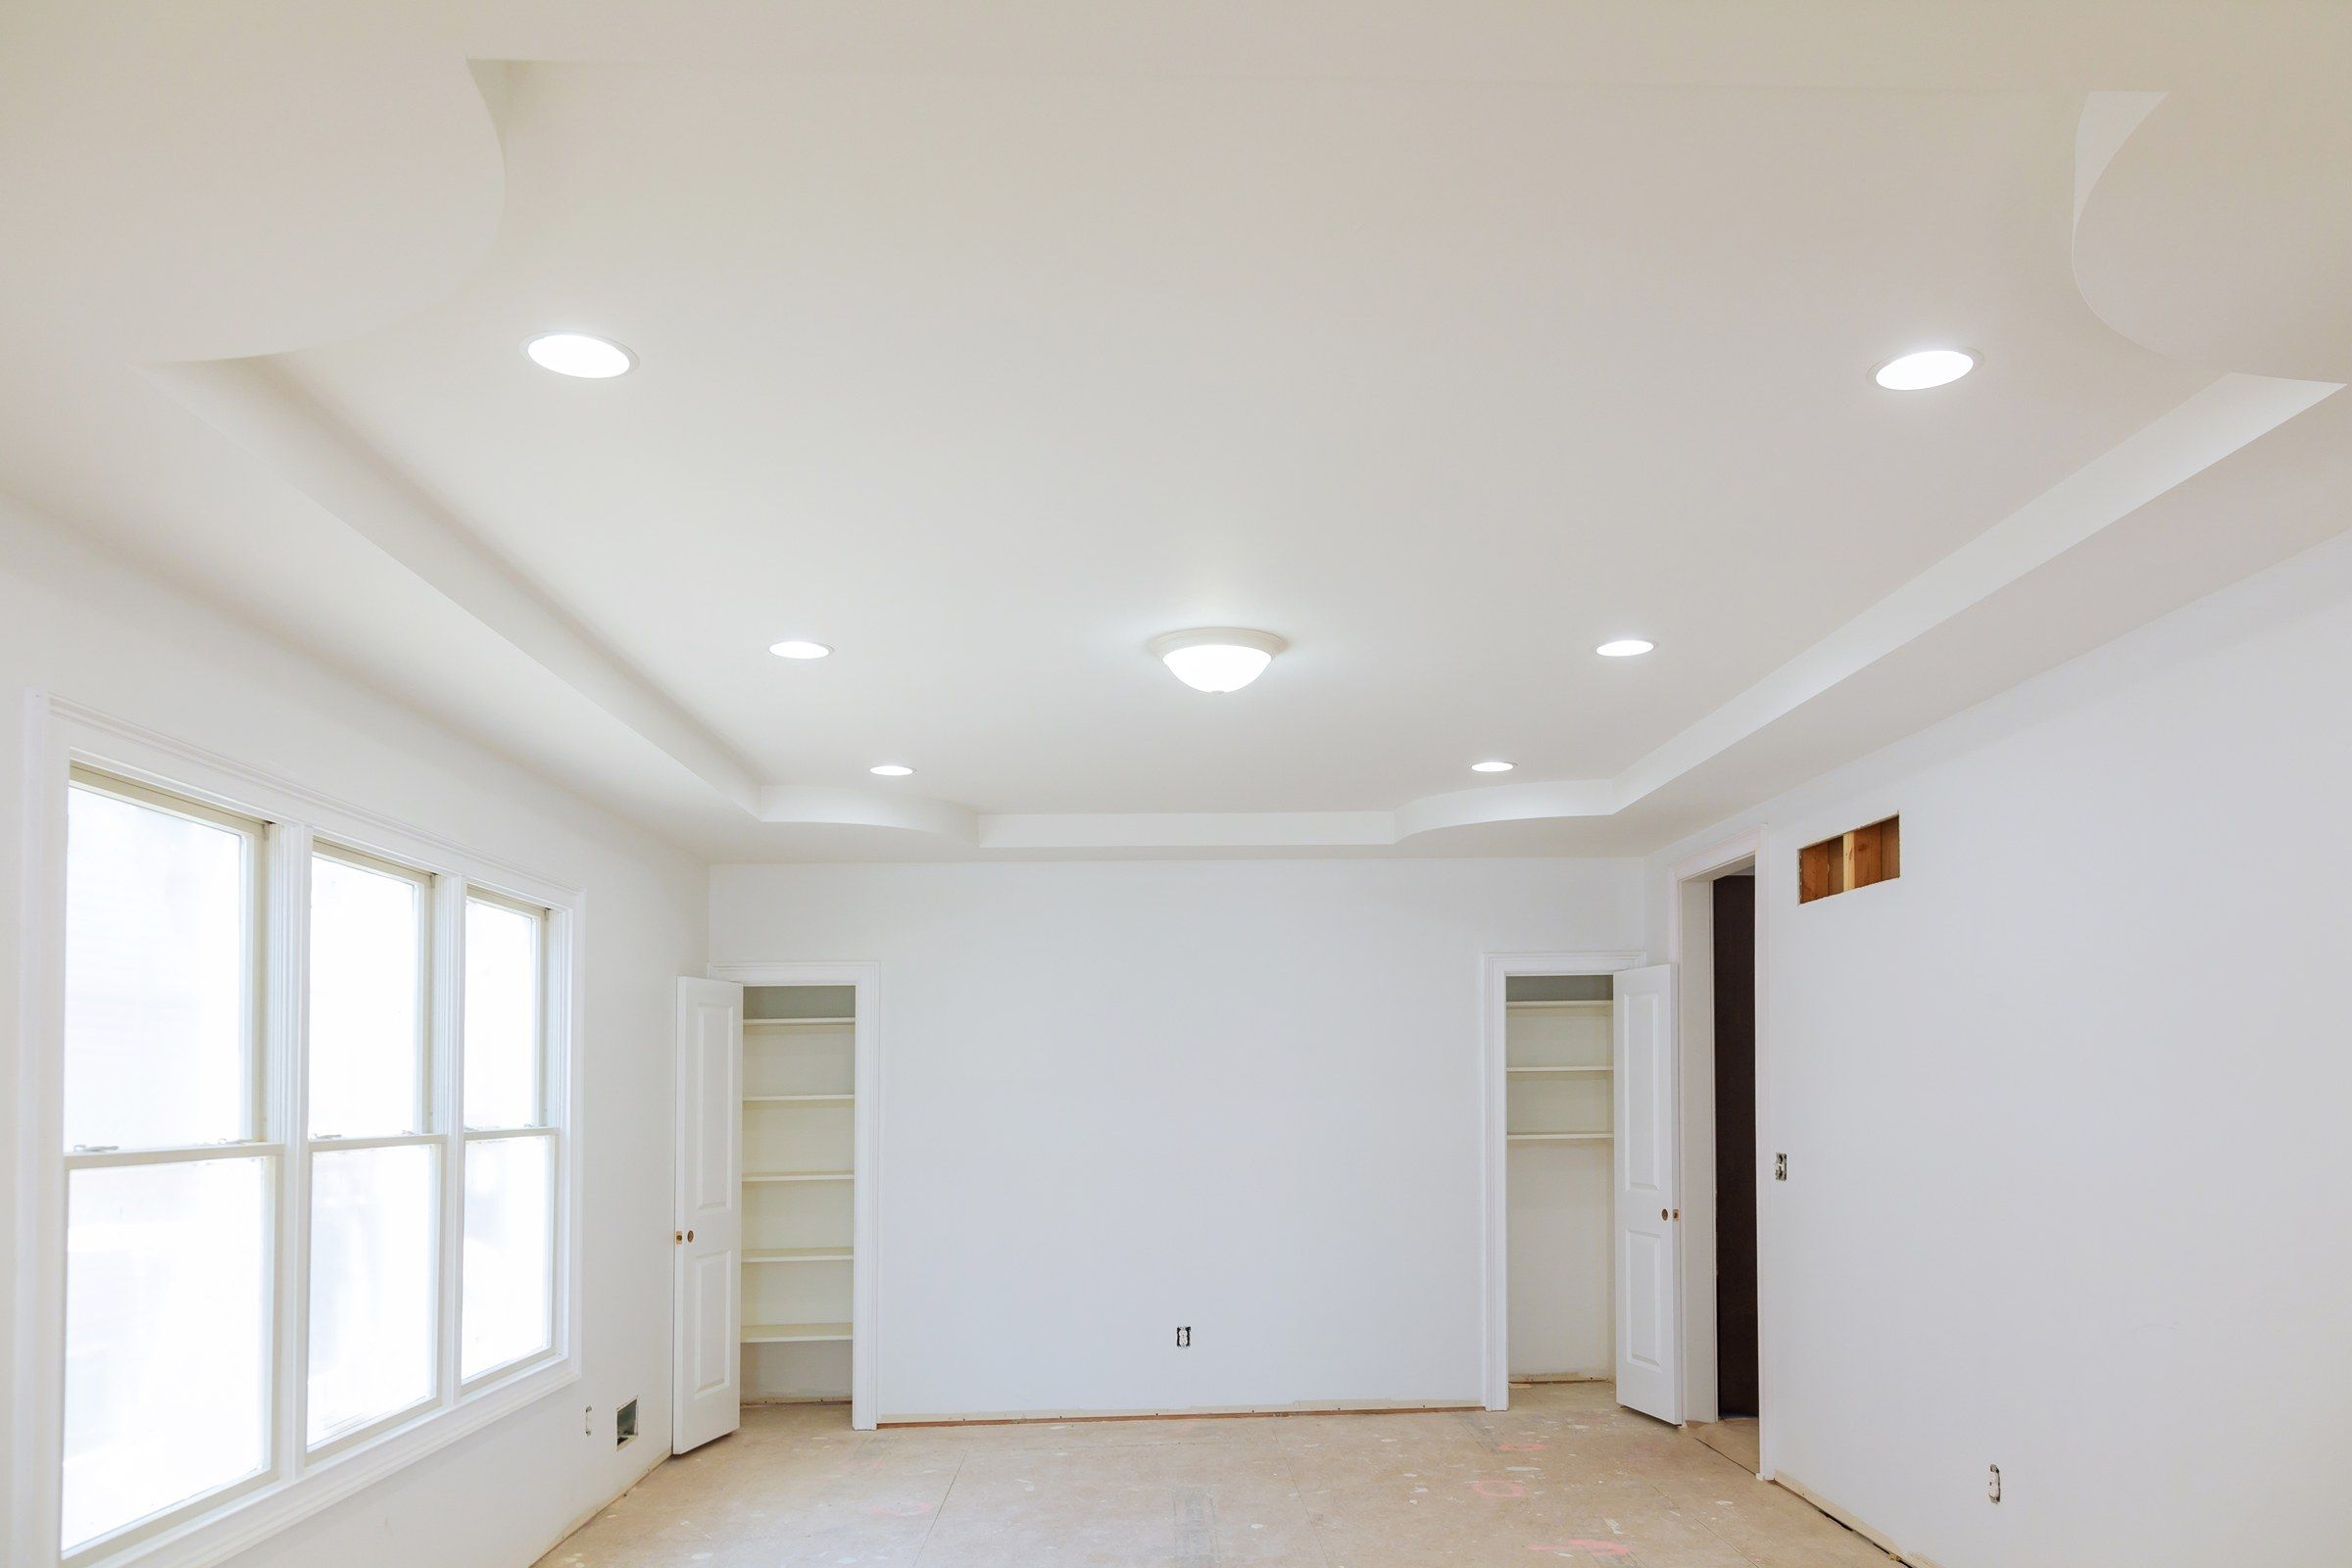
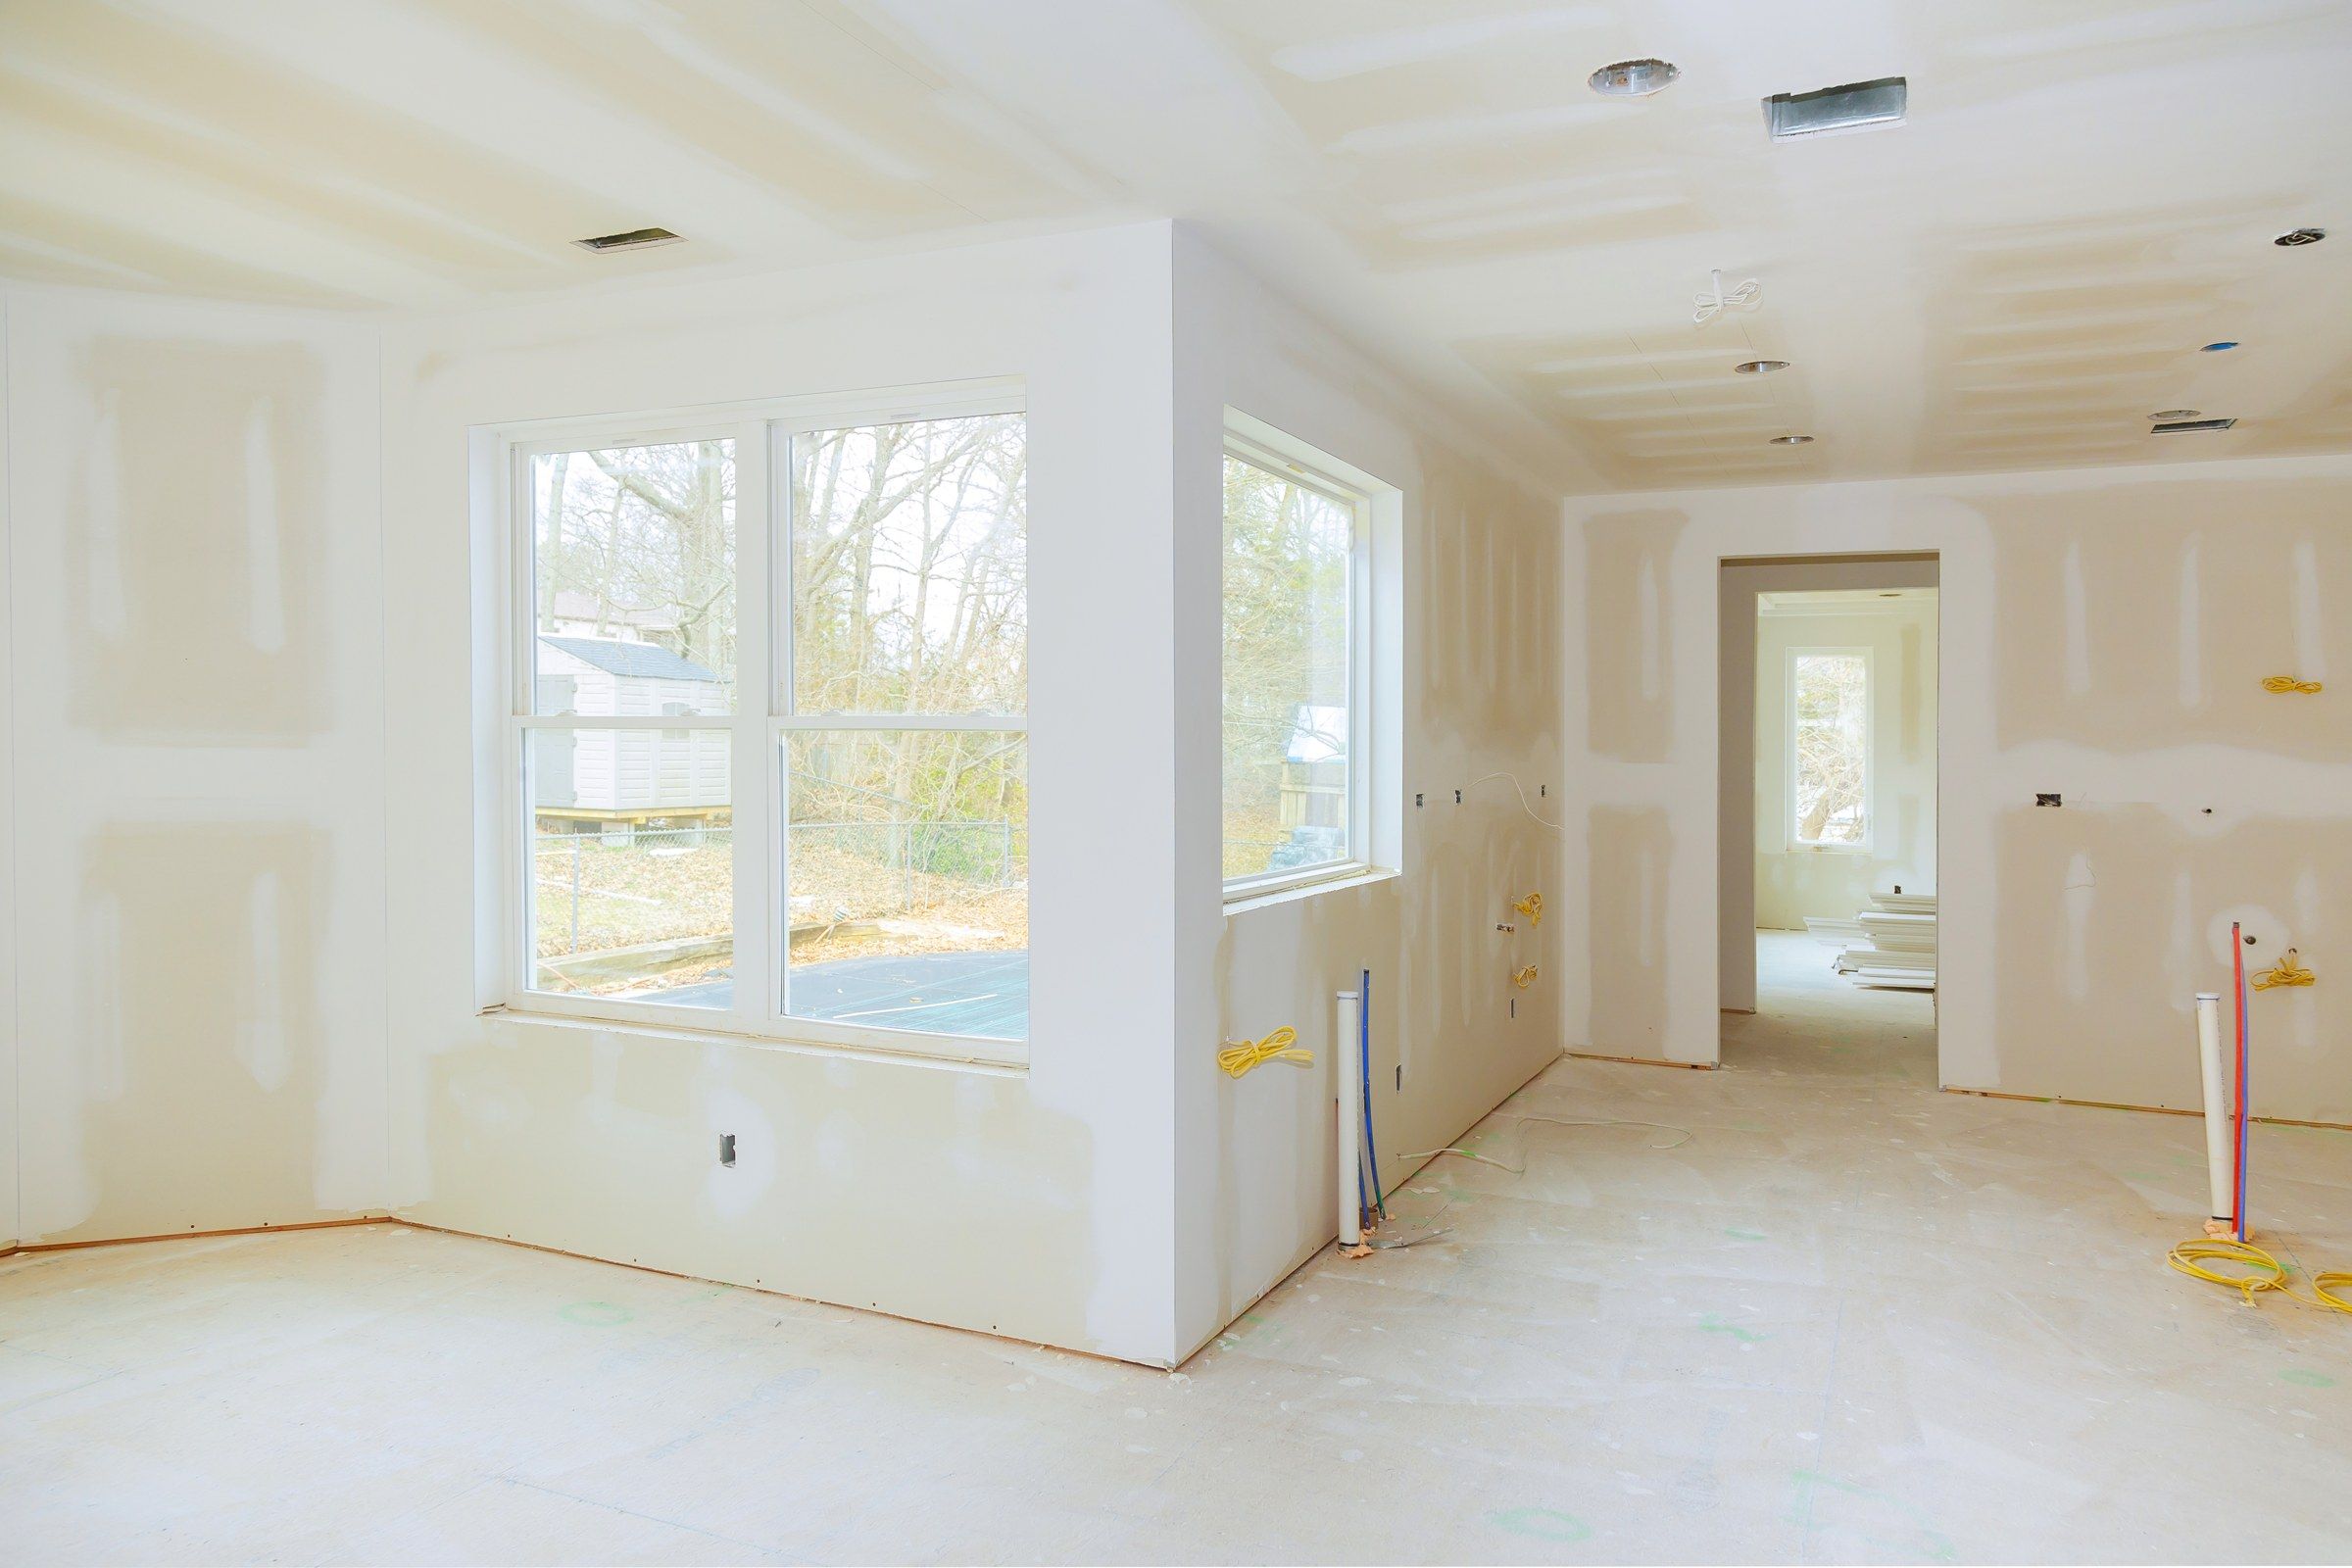
Stock photos, shown to illustrate the result. Not one of our jobs.
Cold-weather note
Compound needs about 50 degrees or better to cure. An unheated garage or addition in a Falls winter is nowhere near that.
We bring heat when we have to. If you are planning a winter project, plan for that too.
Questions
Will you tape what I hung?
Yes.
What if it is hung badly?
We will tell you what needs fixing and fix it. It is usually minor.
Paper or mesh?
Paper.
How is it priced?
By the amount of board, ceiling height and corners.
Do you prime?
No. We leave it sanded and dusted.
Need a price on drywall taping and mudding?
Send the details. You get a written estimate back, free.