Drywall finishing in Menomonee Falls
Paint shows what is under it. Finishing decides what that is.
Get a free estimate
The short of it
People assume paint covers flaws. It does the opposite. A fresh coat with a bit of sheen will show every ridge and seam the finisher left.
So the finish is where the quality is. Here is what the options are and when each makes sense.
The levels
Level 4 is three coats over all joints and fasteners, sanded smooth. It is the normal standard and it looks good under flat paint in ordinary light.
Level 5 is Level 4 plus a thin skim coat over the entire surface. It is for bright rooms, long walls, dark colors and paints with sheen. Below those, Levels 1 to 3 are for garages, tile backer and heavy texture.
Where Level 5 earns its cost
Big windows
Light raking along the wall.
Sheen
Eggshell, satin, semi-gloss.
Dark paint
Shows every wave.
Recessed lights
On ceilings especially.
Texture removal
Skimming a wall smooth.
How we finish
Agree the level
Room by room.
Coat
Each one dry before the next.
Skim
Where Level 5 applies.
Sand
With a light on the wall.
Touch up
Anything the light finds.
Texture
Not everyone wants smooth. Orange peel and knockdown are common in local houses, hide minor dings and cost a little less.
We spray both and make a sample first. If you are only redoing part of a room, matching the existing texture is usually the sensible choice.
What it gets you
Better-looking paint
Even surface, even coat.
Hidden seams
In any light.
Paint choices
Any color or sheen.
No do-overs
Cheaper now than after painting.
What the estimate lists
Surfaces
Which walls and ceilings, by room.
Starting condition
New taped board, or existing walls with paint, patches and texture.
Level
Level 4 or Level 5 for each surface. A mix is common and is written out.
Prep
On existing walls: scraping, repairs, sealing torn paper, knocking down texture.
Coats
Number of skim passes expected.
Not included
Primer and paint, unless arranged.
Tell us the paint sheen and color before we price. It can change the level we recommend.
How the days run
For skim coating existing walls in two rooms.
Day one: prep
Rooms protected. Loose paint and old patches scraped. Cracks taped. Holes filled. Texture knocked down if present.
Day two: first skim
A thin coat pulled tight across the whole surface to fill the low areas.
Day three: second skim
A second pass at right angles to the first. This is the one that makes the wall flat.
Day four: sand and inspect
Light sanding with a lamp held against the wall. Marks circled in pencil and touched up.
Day five: final check
Second look after touch-ups dry. Dust wiped off. Protection removed.
Finishing new board to Level 5 is shorter, since the first three coats are part of taping. The skim and final sand add about a day.
What we need from you
The paint plan. Sheen and color for each room. Flat white is forgiving. Satin, semi-gloss and dark colors are not. This decides the finish level more than anything else.
The lighting plan. Where the windows are, and where any new fixtures will go. A wall that will be washed by recessed lights needs a higher level than the same wall lit from the middle of the room.
Rooms cleared and heat on. Skim coating covers every square foot, so everything has to be off the walls and away from them.
Time. Finishing cannot be hurried. Each pass has to dry before the next. Plan around the schedule we give you.
What can change the plan
The condition of old walls. Paint that is not bonded well lifts when wet compound goes over it. Where that happens it has to be scraped back to something solid. We test a small area first.
Wallpaper residue and old adhesive. These need removing or sealing before a skim will hold.
Number of coats. Most walls come flat in two passes. Heavily textured or badly patched walls can need three.
A change of sheen. If the paint choice moves from flat to something glossier after we have finished, tell us before the painter starts. It may be worth another pass.
Mistakes we see in finishing
Level 4 under glossy paint
Joints show as a change in sheen. Use Level 5.
No primer
Paper and compound absorb differently. The wall looks striped.
Checking in poor light
Flaws that are invisible at noon show at five. Use a work light along the wall.
Skimming over loose paint
It lets go and takes the skim with it.
After we leave
Prime, look, then paint. A drywall primer first. Then stand where people will stand and look toward the windows. Mark anything with a pencil and call us for a touch-up before color.
Two finish coats. Let the paint harden for a couple of weeks before hanging heavy frames or pressing furniture to the wall. After that the surface should need nothing more than the normal repaint every several years.
Notes from the job
The word finishing covers two different jobs. On new board it means the coats and sanding that bring taped joints to an agreed level. On existing walls it means resurfacing: scraping, repairing and skim coating until an old wall is flat again. The second takes longer per square foot than the first.
Why Level 5 exists. A wall finished to Level 4 has two kinds of surface: bare paper between the joints and compound over them. Paper is slightly rough and absorbent. Compound is smooth and dense. Under flat paint in ordinary light the difference does not show. Under glossy paint or light skimming along the wall, the joints appear as bands. A Level 5 skim puts one material over the whole surface, so there is nothing to tell apart.
There are primers sold as a spray-on substitute for a skim coat. They help. They are not the same as a hand-applied skim on a wall that will take critical light. Where the result matters, we skim.
Texture removal is finishing work. Orange peel and knockdown walls can be made smooth by sanding the high points and filling the rest in two or three passes. It changes the look of a house a great deal. It is also dusty at the sanding stage, so rooms need to be cleared.
Wallpaper comes first. A skim coat over wallpaper will fail. The paper has to come off, the adhesive has to be washed or sealed, and torn drywall face has to be sealed before any compound goes on.
Corners deserve a look of their own. A room can have perfect flats and still look rough if the inside corners wander or the outside corners are lumpy. Sight down each one from floor to ceiling. It should be a straight line.
Lighting is the test. If you plan wall washers, picture lights or a row of recessed cans near a wall, tell us before we start. It is far easier to finish for that light than to chase shadows afterward.
Ceilings get judged first. In an open-plan room the ceiling is the largest unbroken surface and the one with the most light across it. If the budget allows Level 5 on only one surface, put it there.
Do not rely on paint to hide anything. Paint follows the surface under it. A thick-nap roller adds a little texture that softens small flaws, and that is the limit of what paint will do. The finish has to be right before the primer goes on.
Before and after
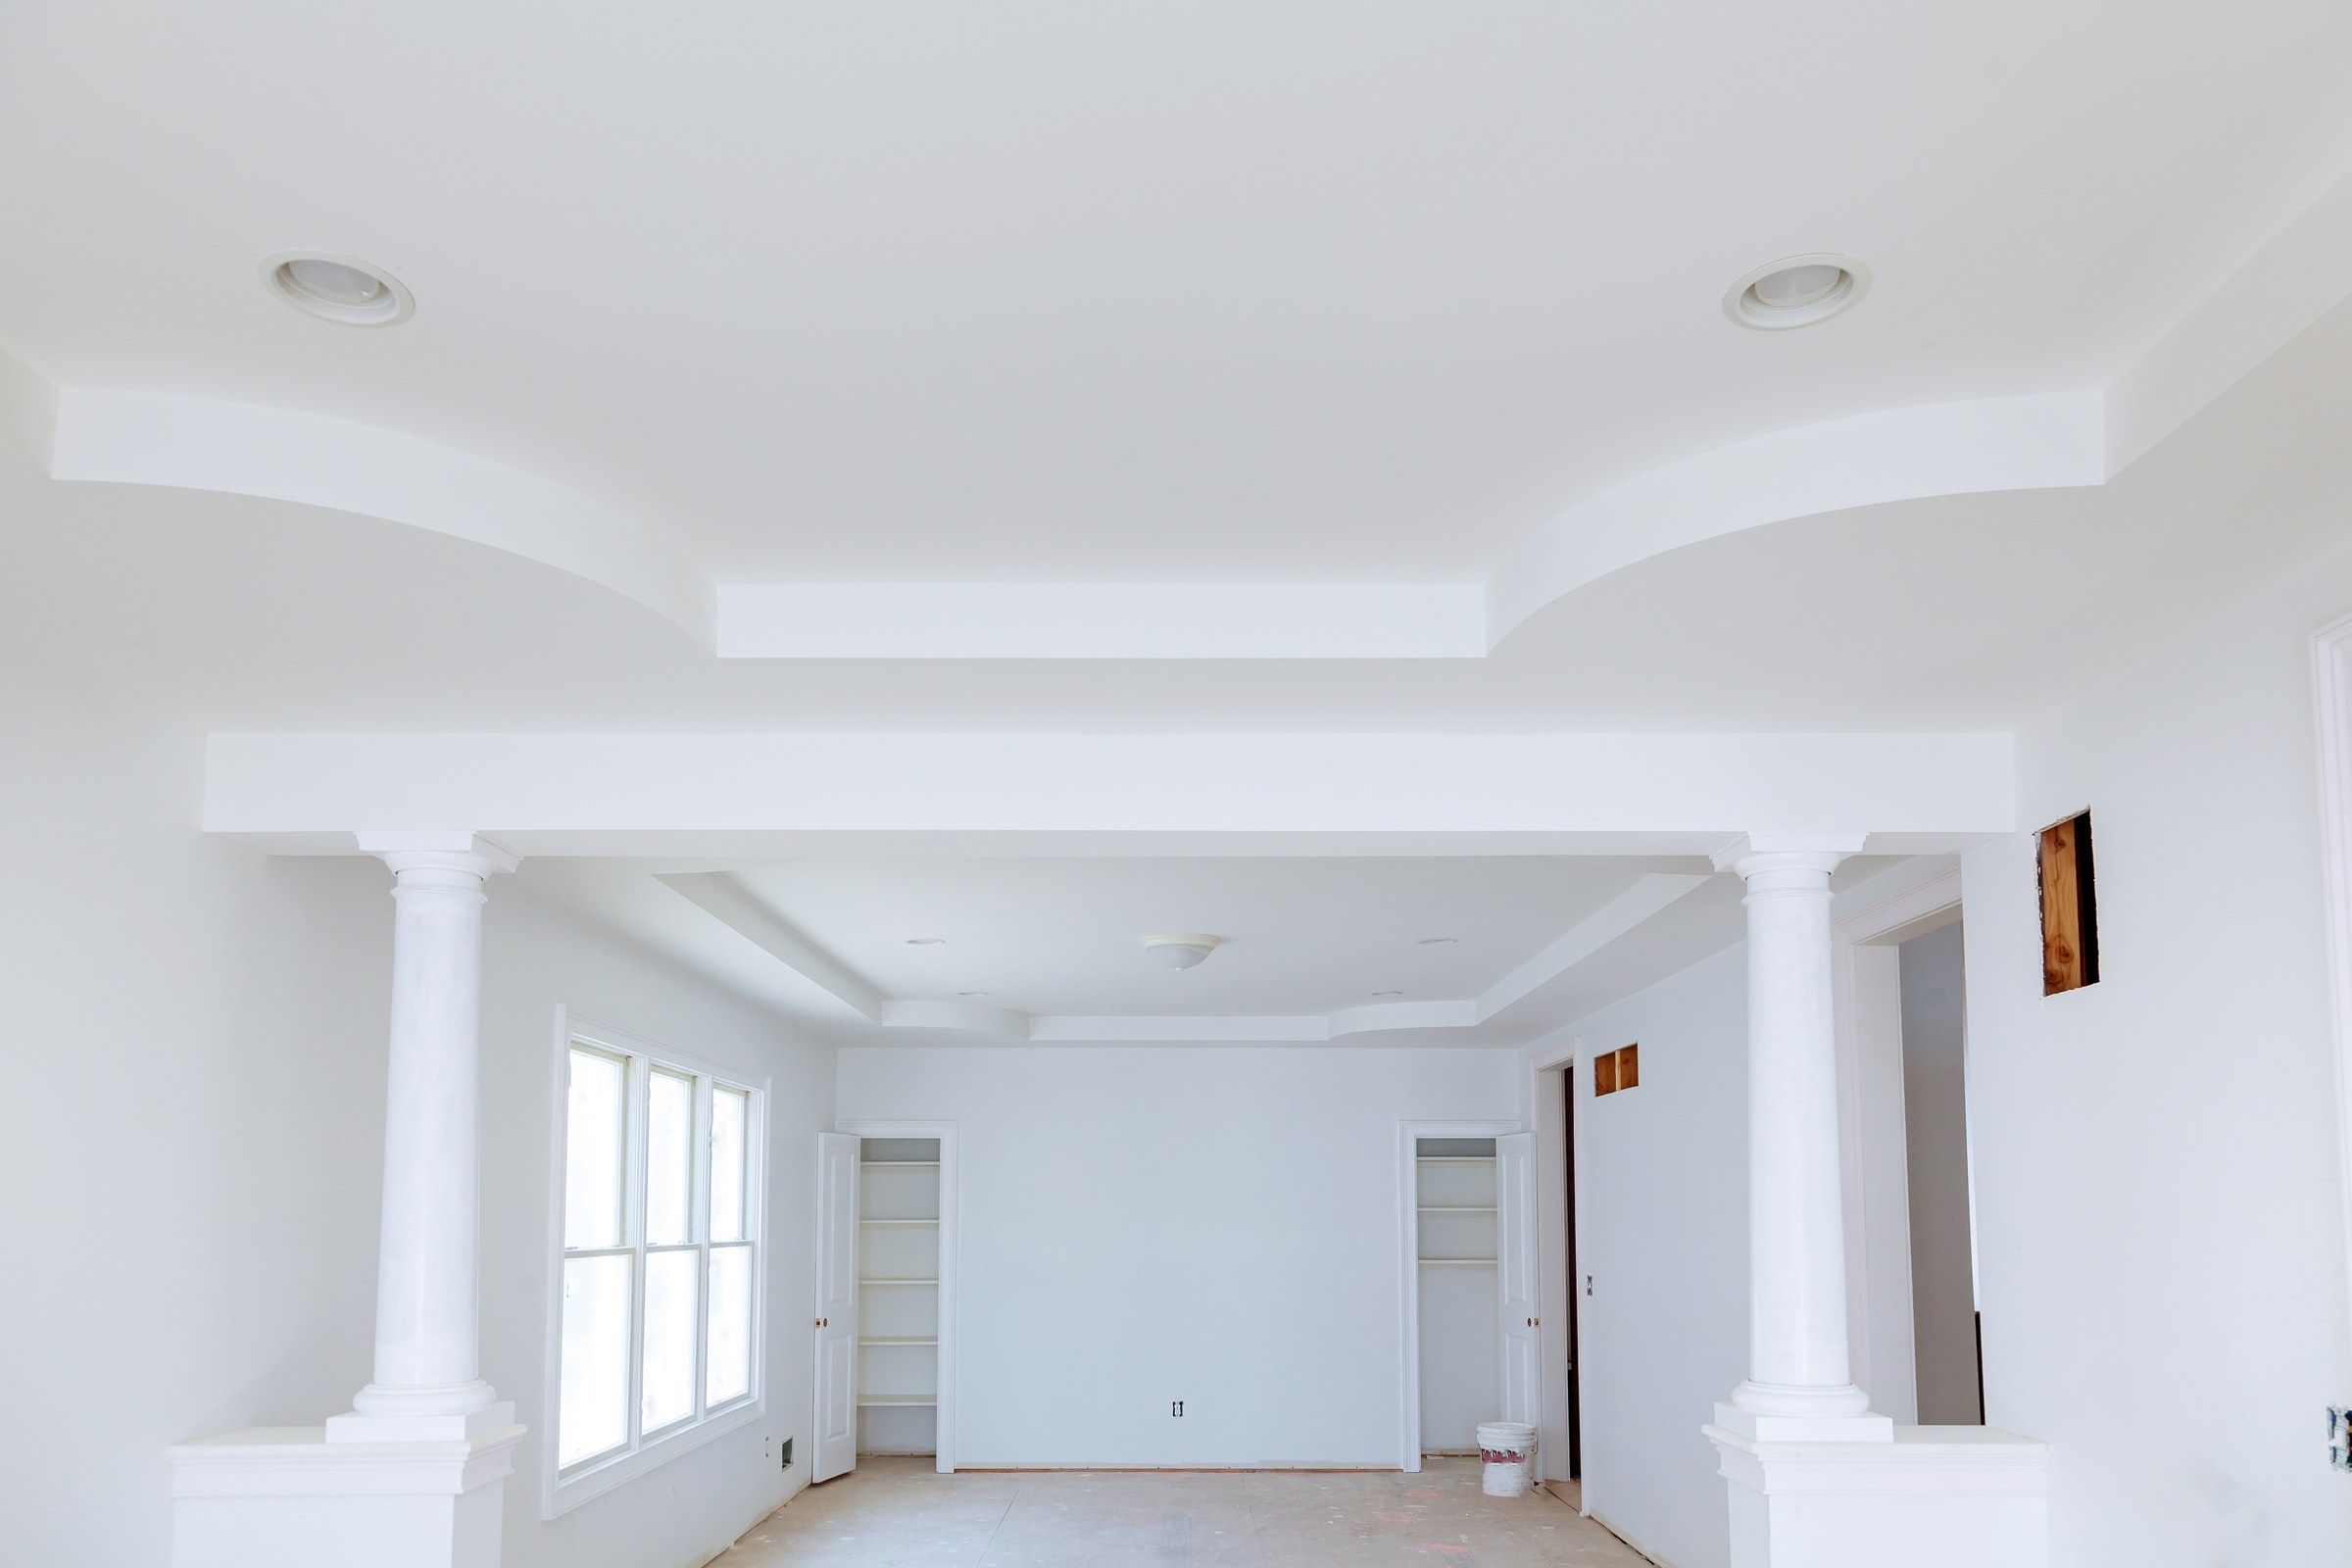
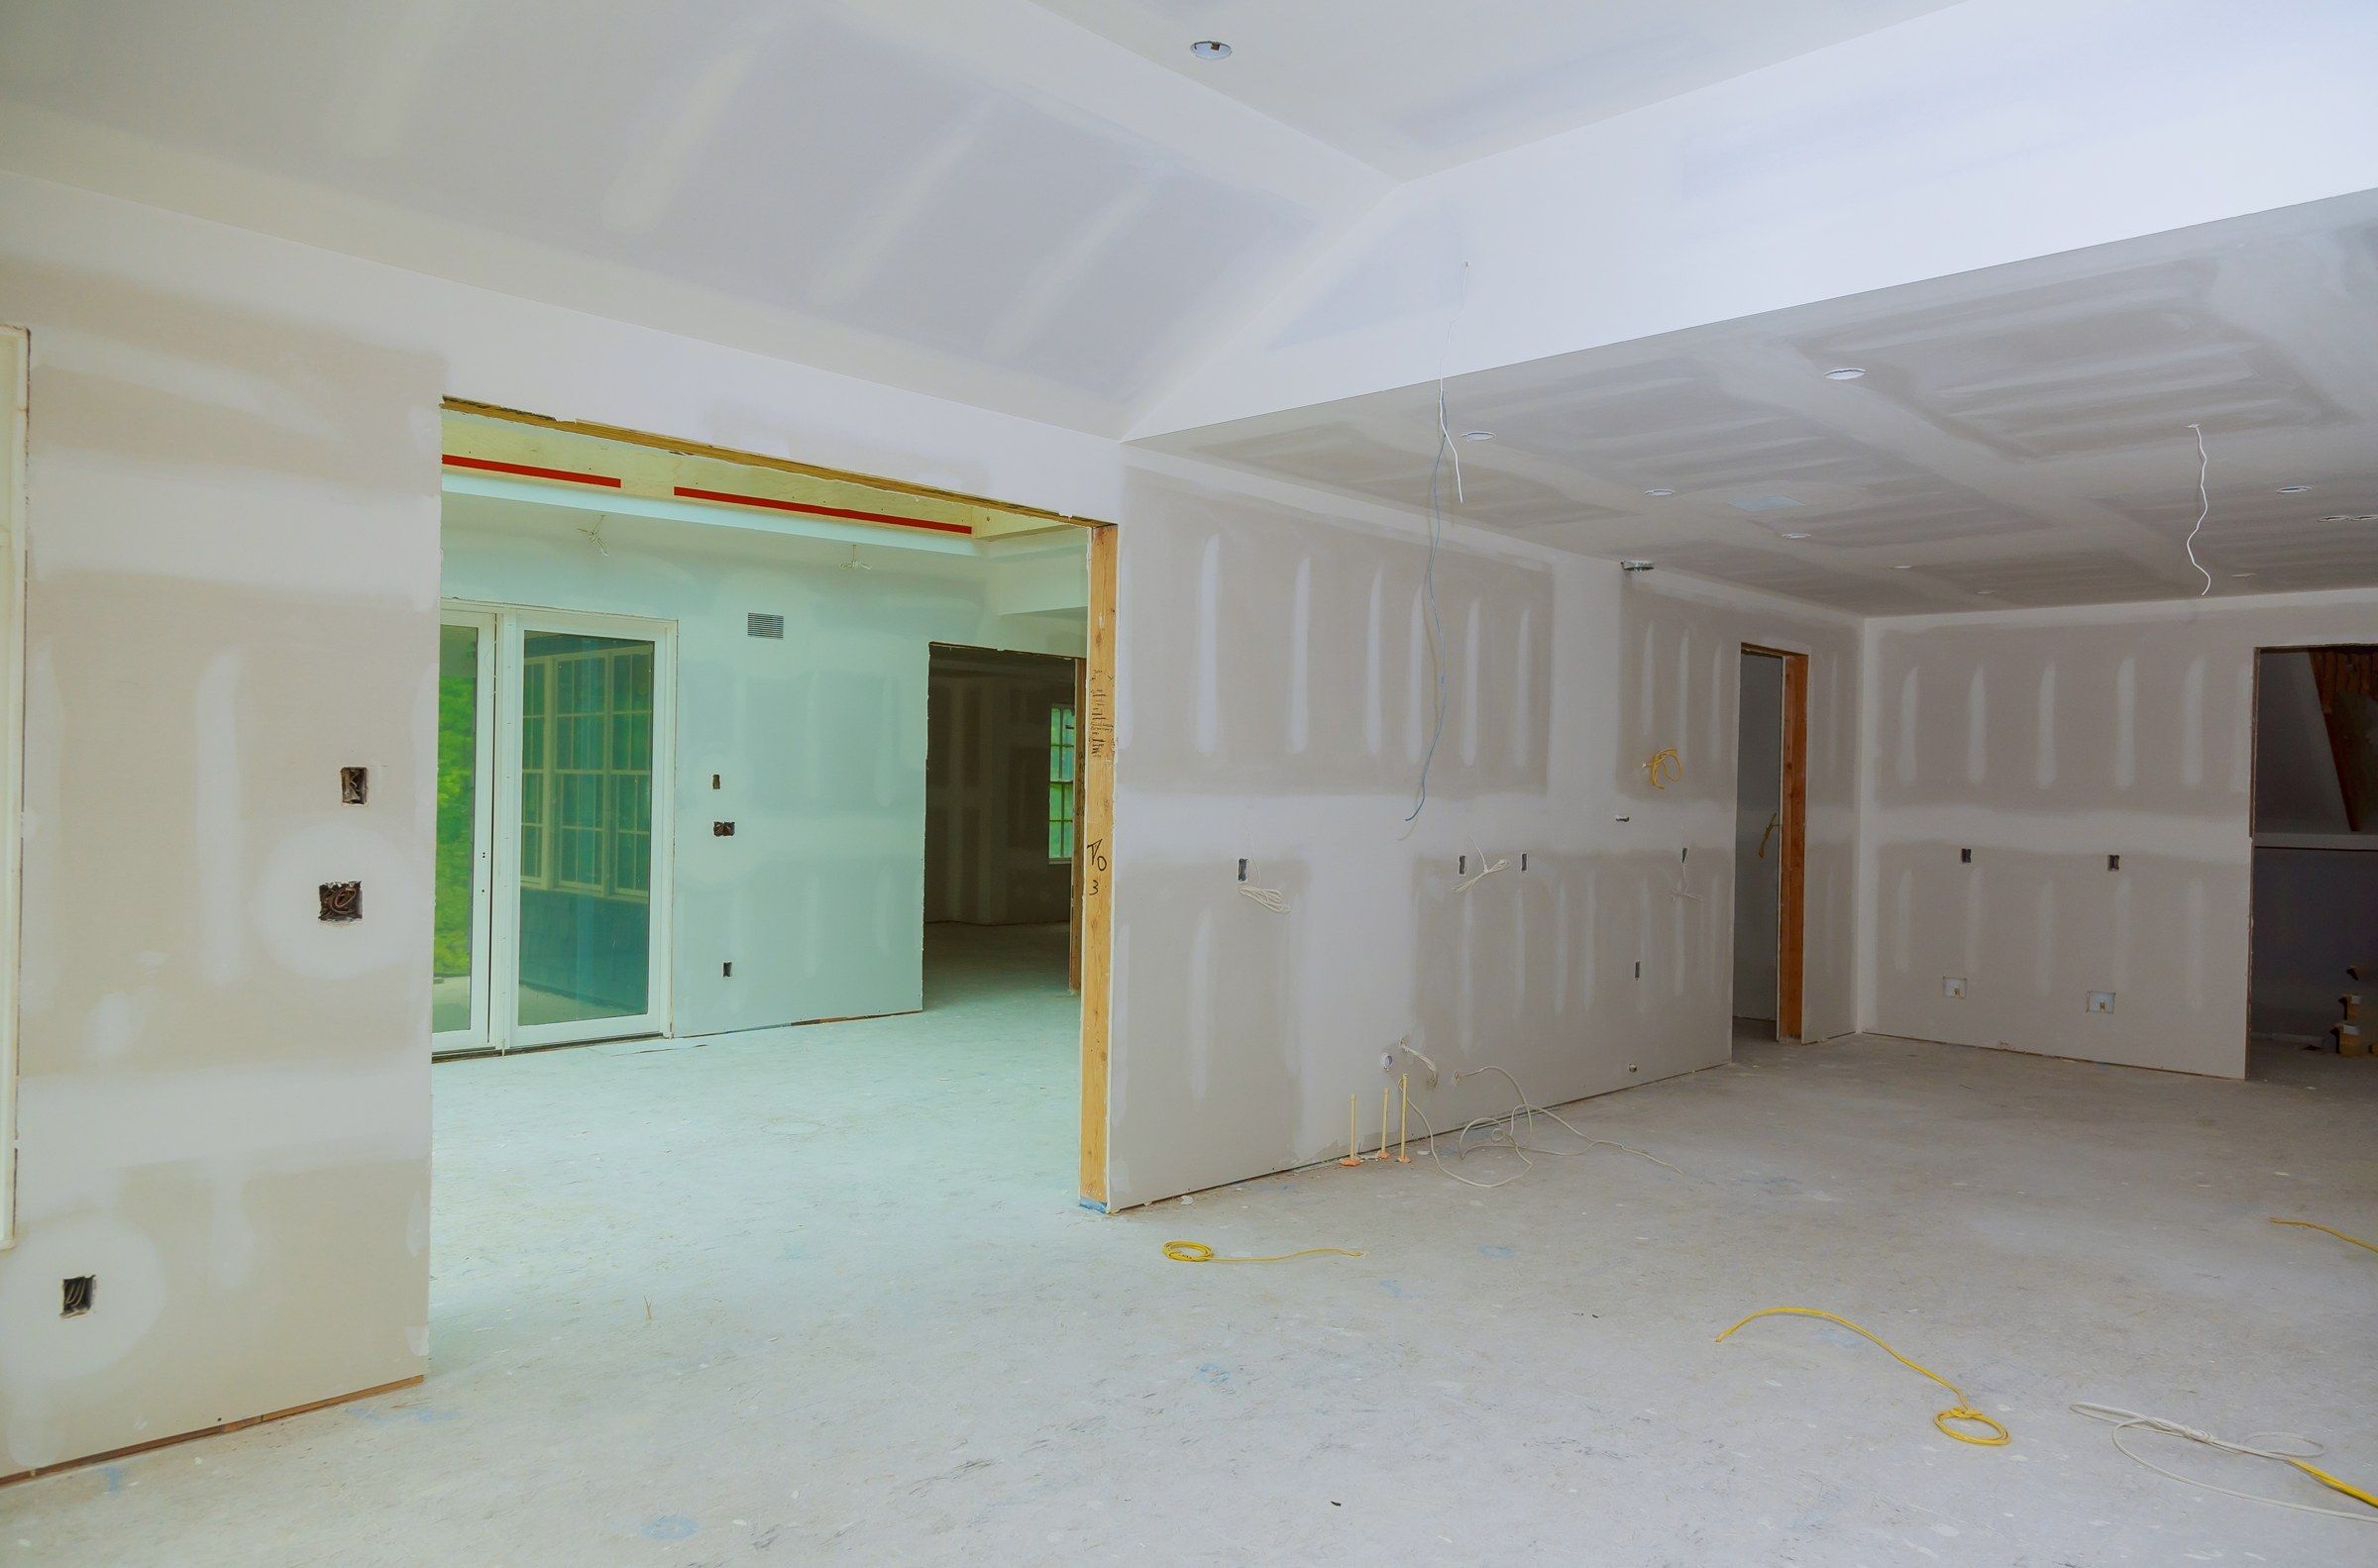
Stock photos, shown to illustrate the result. Not one of our jobs.
Local note
Newer homes in the Falls tend to have open plans, tall windows and a lot of recessed lighting. That is exactly where a basic finish looks its worst.
Tell us about the lighting when you ask for a price. It changes what we recommend.
Questions
Level 4 or Level 5?
Level 4 for most rooms. Level 5 for bright ones and for shiny or dark paint.
Can textured walls be made smooth?
Yes, with two or three skim coats.
Why do my seams show?
The joints and the paper absorb paint differently. A skim coat or a high-build primer fixes it.
Will you finish someone else’s taping?
After looking at it, yes.
What primer after?
A drywall primer-sealer. High-build for smooth walls.
Need a price on drywall finishing?
Send the details. You get a written estimate back, free.